...
When you login, you land on the Supplier Portal home page:

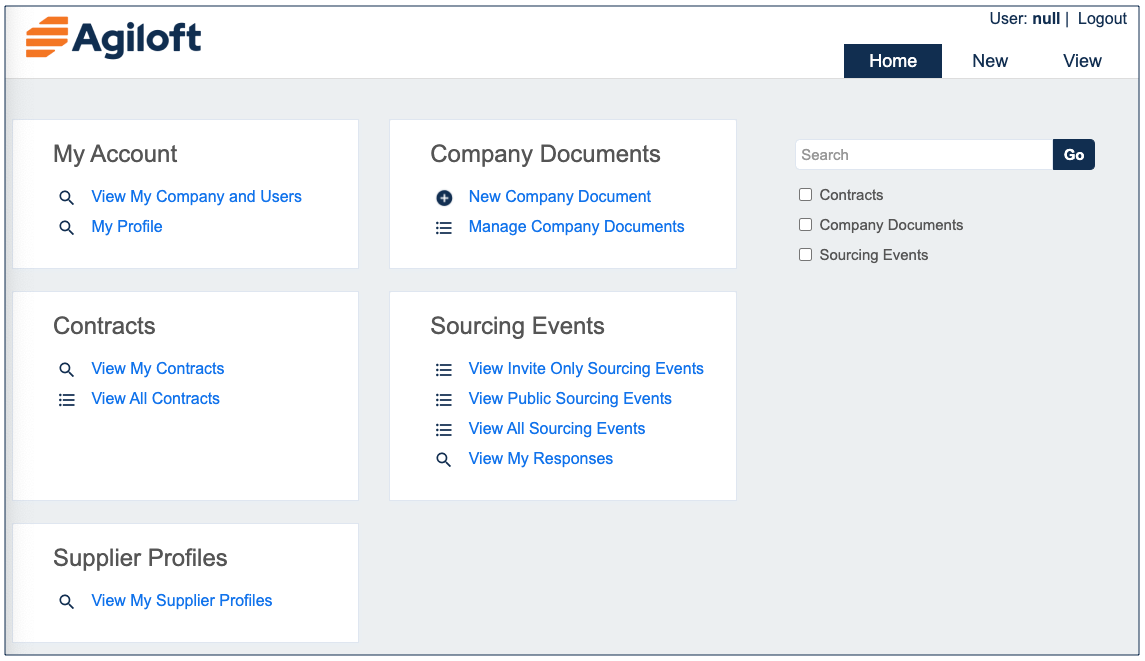
From here, click the relevant hyperlinks in order to upload or manage company documents, view your existing contracts, and view your company, personal profile, and other users.
...
- Click on the New Company Document link in the menu above.
- From the Type of Document drop-down list, select W-9. Selecting Selecting W-9 in the Type of Document drop-down list causes the Contract Title and Contract Manager fields to appear. Contract Title contains a drop-down list that is pre-populated with all the existing Contract records for that specific Supplier company. The Contract Manager field automatically populates based on a linked field of the same name in the selected Contract record.


- Click the Attach/Manage link and then the Attach File(s) button to open up a browse window.

- Locate the W-9, double-click to attach it, and then click Finish. Alternatively, you can also drag and drop the file containing the W-9 into the box labeled 'Drag&Drop files' to the right of Upload File.

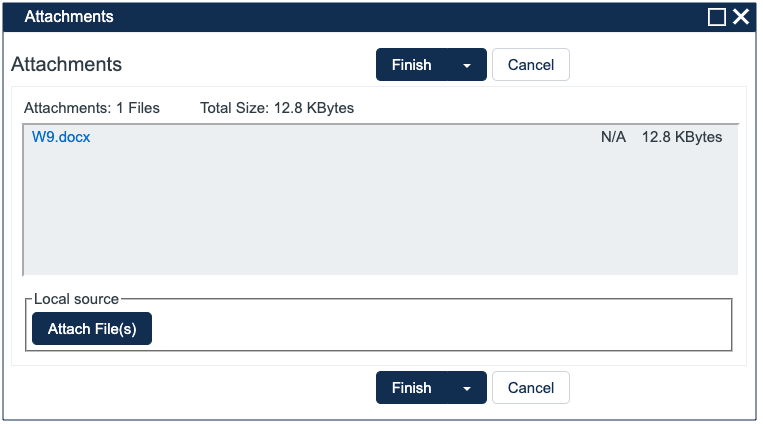
- Save the record by clicking Save. The document appears below Attach/Manage in the Upload File field.
...
- Click on the New Company Document link in the menu above.
- From the drop-down list, select Insurance Certificate. Selecting Insurance Certificate in the Type of Document drop-down list causes multiple new fields to appear, such as Coverage Type, Amount of Coverage, Start Date, and Expiration Date. Coverage Type contains a drop-down list that contains the same choice list from the Type of Coverage drop-down list in the Insurance Coverages Table. Every option in the drop-down list adds the Aggregate Amount field to the right of Amount of Coverage, except for Worker's Comp, which adds the Meets Statutory Limits radio button.


- Click the Attach/Manage link and then the Attach File(s) button to open up a browse window.

- Locate the Insurance Certificate, double-click to attach it, and then click Finish. Alternatively, you can also drag and drop the file containing the Insurance Certificate into the box labeled 'Drag&Drop files' to the right of Upload File:
- Fill in the newly - visible fields in the Document Details section using details from the Insurance Certificate, one at a time. Click the Add Coverage button to add Insurance Coverage records to the Uploaded Insurance Coverages table, which appears below Document Details. A section for Submitter Info also appears below Uploaded Insurance Coverages that shows the default Company Contact. Remember, you can include Insurance Coverages that have different expiration dates.
- Once you have added all the Insurance Coverage records, click 'Done adding coverages' to hide the data entry fields.

- Click Save to complete the Company Document record.
...
Click Manage Company Documents to view a table of the files that have been uploaded. You can edit these records from this page directly, and can search through records using either a pre-configured saved search or text querying in the upper right-hand corner.


My Account
This section showcases the features that are included in the My Account section of the Supplier Portal.
...
- Update the fields for company Telephone, Fax, and Website URL in the Key Info tab.

- Update or add new Company Locations and Company Contacts in the Locations and Contacts tab.

- Update or add new Subsidiary or Affiliate Companies, related Contracts, and Company Documents in the Related Records tab.

Updating your User Profile
You can access information about your own password and contact information by clicking the My Profile link under My Account or the My Profile tab above the Search section. Either way, this brings up your user record:

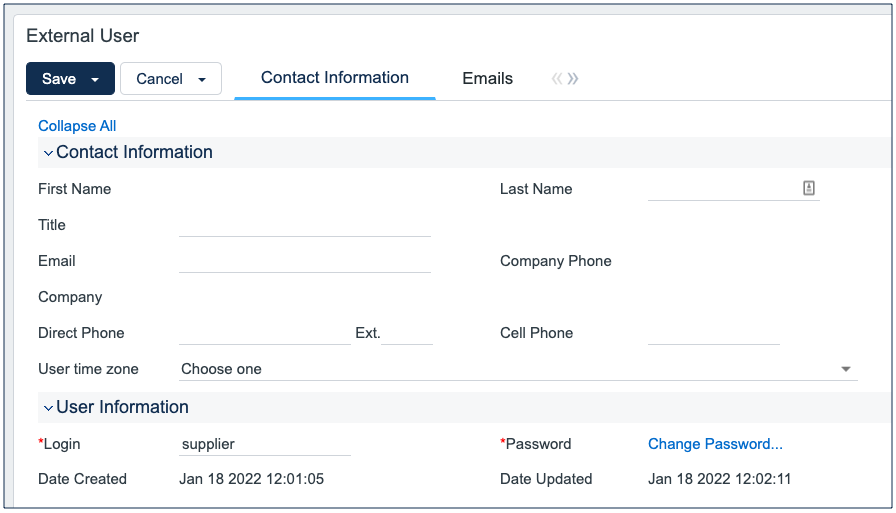
You can change nearly everything included in your User record, such title, email, password, and phone information. However, you cannot change your first name. If your company has multiple locations, you can select your own location from the User time zone drop-down list.
...
View contracts related to your company by using the links under the Contracts section of the home page.
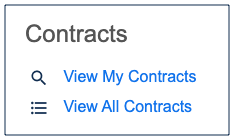

There are two defined filters, one showing only contracts for which you are the main contact (View My Contracts) and another for all the contracts in your company that you have permission to view. Click one of these options to view a table of Contract records that have been uploaded. You can edit these records from this page directly, and can search through records using either a pre-configured saved search or text querying in the upper right-hand corner.

Sourcing Events
When the organization posts a Sourcing Event such as an RFP, RFI or RFQ, these records can be made available to some or all of the organization's suppliers. Using the credentials provided by the organization, a supplier can log in and see Invite Only events, Public Events, or All Sourcing Events, which shows both lists together.

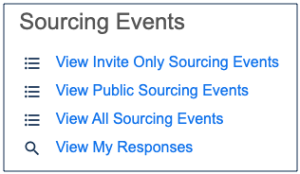
Suppliers can find more information about a Sourcing Event record by clicking the magnifying glass icon in the View column, which shows information including the Scope, Additional Requirements, Status, and the relevant dates. Suppliers can communicate their interest by clicking the "I Am Interested" button.
...